
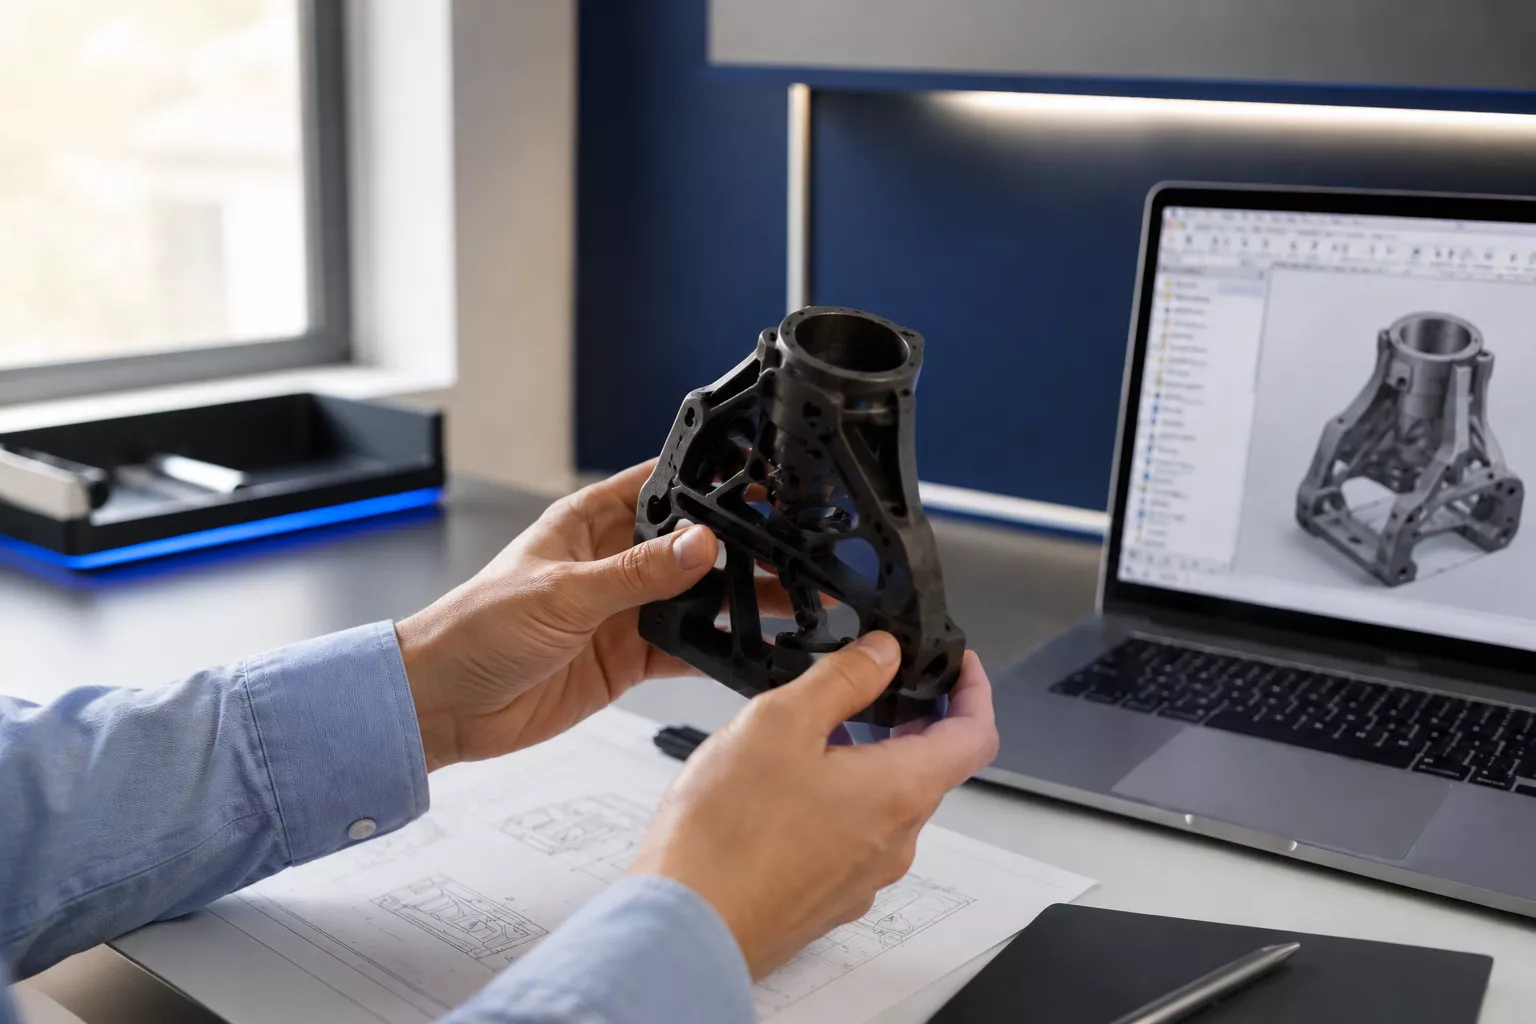
A product design prototype helps teams move from an idea to a manufacturable product with less risk, lower rework, and faster development cycles. For engineering teams, it is the stage where form, fit, function, and manufacturability are tested before expensive tooling or production decisions are made.
At Marcopolo, the prototype stage is not treated as a standalone exercise. It is part of a larger prototype-to-production workflow that includes DFM, tooling, injection moulding, machining, and low-volume manufacturing support.
Get a free DFM review to identify manufacturability risks early.
Why a product design prototype matter
Most products do not fail because the original concept was weak. They fail because the design reaches production before critical issues in geometry, material, assembly, or tooling are fully resolved.
A product design prototype gives teams the chance to test what matters at each stage:
- Visual appearance and proportions.
- Assembly and fitment.
- Mechanical performance.
- Material suitability.
- Manufacturing feasibility.
This is especially important for engineered plastic parts, where design details such as wall thickness, draft angle, ribs, bosses, and gate location can directly affect quality and cost.
Step 1: Start with a clear product brief
Every successful product design prototype begins with a clear brief. The team should define what the part must do, where it will be used, how many parts may be needed, and what kind of testing or approval the prototype must support.
A weak brief creates confusion later in the process. A strong brief helps align design, prototyping, tooling, and production teams from the beginning.
| What to Define First | Why It Matters |
|---|---|
| Product Function | Clarifies whether the prototype is visual, functional, or pre-production. |
| Use Environment | Affects material choice, durability, and tolerance planning. |
| Expected Quantity | Helps decide between 3D printing, machining, soft tooling, or injection moulding. |
| Testing Requirement | Determines whether the part needs cosmetic accuracy or engineering-grade performance. |
| Target Launch Timing | Impacts process selection and development speed. |
Step 2: Build the right prototype for the right decision
Not every prototype has the same purpose. Some are built to check design direction, while others are used to validate performance, assembly, or tooling readiness.
That is why the method matters. Marcopolo’s service stack includes prototyping, machining, soft tooling, and injection moulding, so the process can be selected based on the actual development goal rather than forcing one method for every stage.
| Prototype Goal | Best-Fit Process | Typical Use Case |
|---|---|---|
| Fast Concept Check | 3D Printing | Shape, size, and visual review |
| Tight-Tolerance Evaluation | CNC Machining | Engineering validation and critical interface testing |
| Functional Prototypes | Vacuum Casting | Design validation and functional testing using production-equivalent materials |
| Large Functional Prototypes | RIM (Reaction Injection Moulding) | Large enclosures, covers, and proto-vehicle builds in production-equivalent materials |
| Low-Volume Production | Soft Tooling & Injection Moulding | Pre-series builds and pilot production using production-intent materials |
Choose the right prototype process?
Step 3: Use DFM before the tool is built
One of the biggest mistakes in product development is waiting too long to review manufacturability. By the time a tooling issue becomes visible after production tooling starts, the cost and delay are much higher.
That is why DFM should happen during prototype development, not after it. Marcopolo specifically highlights tooling, mould design, and DFM support as part of its manufacturing workflow, which helps teams identify geometry, gating, wall-thickness, and mouldability risks early.
Common DFM checkpoints include:
- Wall thickness consistency.
- Draft angle suitability.
- Undercut management.
- Rib and boss design.
- Gate and ejection planning.
- Assembly strategy.
Step 4: Validate with real performance requirements
Low volume production is not just for startups. It is widely used by established companies when the full product run is not yet justified.
Once the prototype confirms design direction, the next step is validation. This is where the team checks whether the part performs the way the final product needs it to perform.
For some applications, a concept model is enough. For others, especially in automotive, medical, industrial, and high-performance plastic applications, the prototype must behave much closer to the final component. Marcopolo’s injection moulding capabilities include engineered plastics such as ABS, Nylon, PC, PMMA, POM, and high-performance materials like PEEK, PPS, and ULTEM, which makes real-world validation more practical for demanding projects.
|
Validation area |
What teams should check |
|---|---|
| Fit | Does the part assemble correctly with mating components? |
| Function | Does it perform the intended mechanical or structural role? |
| Material | Is the selected polymer suitable for heat, load, or chemical exposure? |
| Finish | Does the surface meet cosmetic and usability expectations? |
| Repeatability | Can the part be produced consistently in the chosen process? |
Step 5: Prepare the design for production
A product design prototype is only useful if it helps the product reach production more confidently. After testing and design revisions, the part should move into a more production-ready stage with locked geometry, confirmed material, and clear tooling direction.
This is where Marcopolo’s integrated setup becomes commercially valuable. The company positions itself around a prototype-to-production model that includes soft tooling, production tooling, injection moulding, and precision manufacturing support under one roof. That reduces handoff friction and helps teams move faster once the prototype is approved.
Ready to move to production?
Typical timelines by development stage
Exact timelines depend on geometry, tooling complexity, and material availability, but the process usually follows a clear progression.
| Stage | Typical Timeline | Main Output |
|---|---|---|
| Product Brief & CAD Refinement | 2–5 Days | Design intent and prototype-ready CAD |
| Initial Concept Prototype | 3–7 Days | Visual or fit-check part |
| DFM Review & Refinement | 2–5 Days | Improved manufacturable design |
| Functional Prototype | 7–14 Days | Test-ready part |
| Soft Tooling or Pilot Production | 2–6 Weeks | Low-volume production parts |
| Production Tooling & Repeatable Manufacturing | Project Dependent | Scalable production output |
These ranges make the article easier to scan and help buyers understand how prototype development supports launch planning.
Common mistakes to avoid
Even technically strong teams make avoidable prototype mistakes. The most common ones are:
- Building a prototype without defining the learning objective.
- Using concept-grade parts for functional validation.
- Ignoring DFM until after tooling starts.
- Selecting materials based only on availability.
- Treating prototype and production as separate vendor workflows.
A better approach is to treat the product design prototype as a decision tool, not just a sample. That shift improves quality, timing, and cost control across the full product development process.
Why this matters for product teams
For product teams under launch pressure, the real value of prototyping is not speed alone. It is the ability to reduce uncertainty before committing to tooling, production schedules, and commercial timelines.
Marcopolo’s positioning around rapid prototyping, tooling, engineered plastics, and low-volume production makes this especially relevant for teams that want technical support beyond the first sample. That is why the strongest prototype programs are built around both engineering validation and manufacturing readiness.
Need faster validated parts?
FAQs
What is a product design prototype?
A product design prototype is an early version of a product used to validate design, fit, function, and manufacturability before full-scale production begins.
Why is DFM important in prototype development?
DFM helps identify issues in geometry, tooling, wall thickness, draft, and mouldability before those issues become expensive production problems.
Which process is best for a product design prototype?
It depends on the goal. 3D printing is useful for concept validation, machining works for precision parts, and soft tooling or injection moulding is better when production-like parts are needed.
Can a prototype move directly into low-volume production?
Yes, if the design is validated properly and the manufacturing route is planned early. This is especially effective when the same partner supports prototyping, tooling, and injection moulding.